Who doesn’t love a behind the scenes peak? Ok, so this isn’t Pixar or Universal Studios, so I’ll understand if you aren’t having trouble containing your excitement, but I promise you some insight throughout this read. We don’t claim to be masters in efficiency, but we sure strive to get there. With that, we’ve strategically placed our own products throughout our office to help us be more efficient, reduce overhead and provide ergonomic workspaces for our employees. After all- our employees are our most valuable asset.
Virtual Receptionist Kiosk
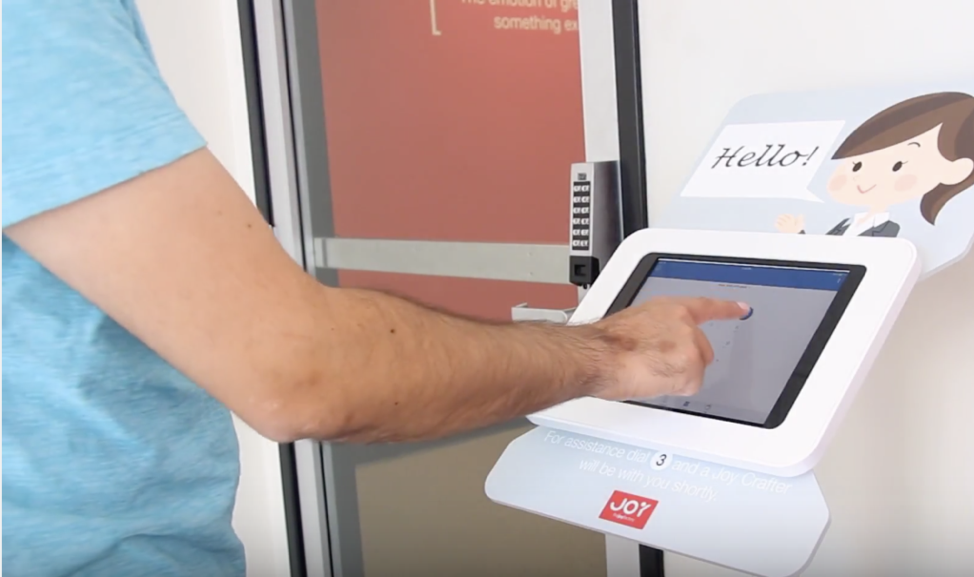
Let's start with something we can all appreciate…saving money! In our infancy, we had a need for someone to greet our guests, but like most startups, we didn’t have a lot of funds to support or even justify the need. In our office we have a security system that requires a badge to enter into our building however, we have a lobby area before that entry point. This posed a problem for us because we needed to have someone man the door to greet our guests. We decided to enlist our own digital kiosk solution and installed a kiosk with an iPad. The kiosk not only greets our guests but it also allows them to contact the person they are visiting or in some cases an operator to assist them. We find our virtual receptionist kiosk to be one of our most valued possessions (outside of our employees, of course). It’s priceless! For more information visit our blog post about How to set up a virtual receptionist in your office.

Set up an Ergonomic Workspace
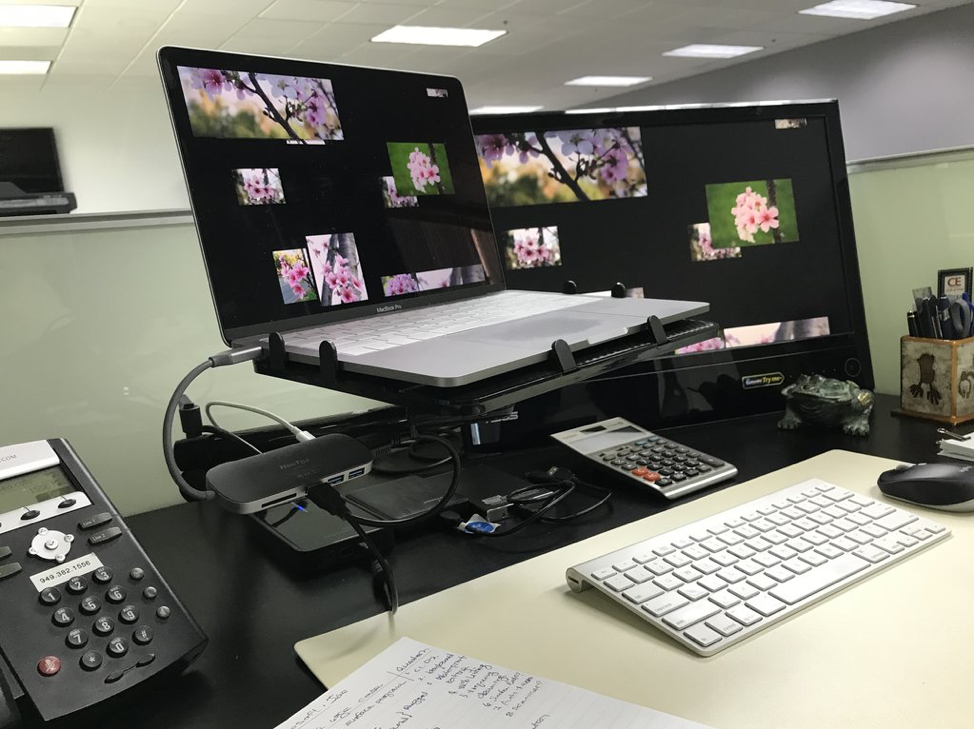
In our office, each employee has their own workspace to which they can personalize to their liking. One consideration most of our employees consider is ergonomics. To set up an ergonomic workspace is critical when you account for the amount of time spent in said space. Since we have the luxury of working from home most of us work off of laptops. One of the downfalls of a laptop is its lack of ergonomic positioning. Typically they come standard with no support towards ergonomics. For those that use a laptop in our office, they pair it with one of our Unite Mounts to position their computer exactly where it is needed. The Unite Tray is positioned with its universal tray parallel to the desktop. Then the laptop is placed onto the tray and secured using the sliding brackets. Once the laptop is positioned onto the holder the carbon fiber mount arms can be positioned so the screen is eye level to avoid pinched necks. The setup is also great when working with a dual-screen or multiple displays. We have a How-to video to show how this can be accomplished. Check out the products featured to accomplish this setup by clicking here.
Compatible laptops:

DIY Photography Studio
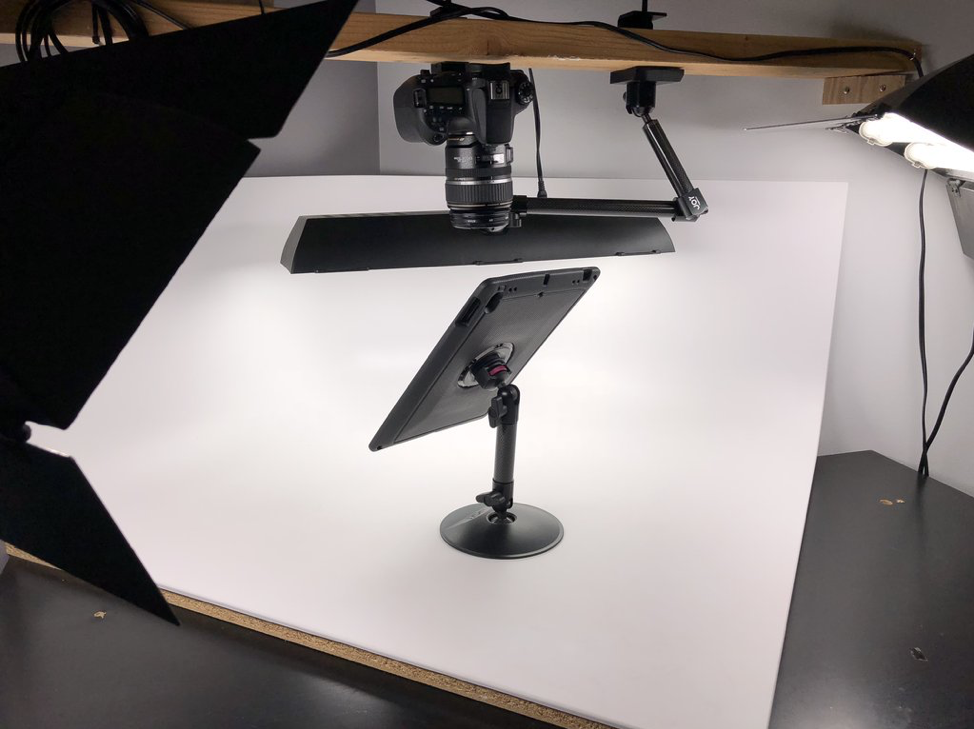
We are always asking the question how can we work smarter and faster? This next example was derived using that mentality. In this day and age content creation for marketing, products occur at such a high speed. Taking product pictures or creating installation videos is very time-consuming. We asked the question of how can we cut downtime in this area and part of our answer was to create a video section in our photography studio that didn’t require setup and teardown each time a new video was shot. Another great aspect of this setup is that anyone can simply come turn on the lights, place a product down on the backdrop and easily take a quick picture using even a phone. This on-the-spot photo helps convey an idea fast to a client or another team member. This setup is not standard and creating it took some creative thinking, but it was easy to build. If you are interested or wanted to learn more about how to create a setup like this one email or call us and we’ll be more than glad to help! You can also comment below and let us know you’d like to see a How to… post for this setup.
Photo & Video Studio Mounts
So there you have it a little behind the scenes look into our world here at The Joy Factory. Have an idea for a future blog post or want to share your unique setup? Comment below.

