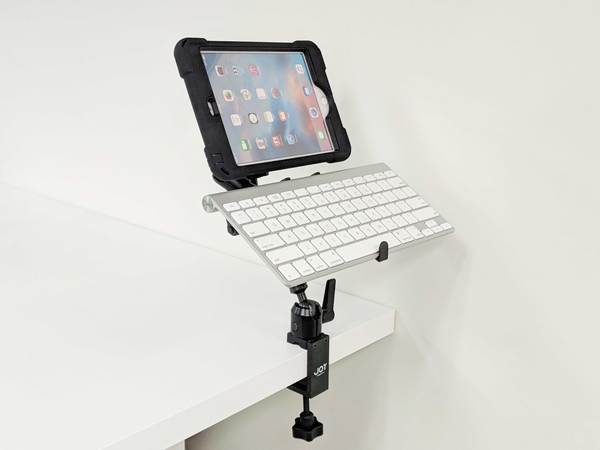
Finding the best accessories to pair with your tablet can sometimes be a challenge. Often an accessory isn’t viewed as important until a user faces a challenge especially as our workforces become more mobile. One of the biggest obstacles a tablet user faces is how to position their tablet exactly where they need it to help them maintain mobility. We’ve manufactured a line of mobile tablet mounts to allow tablet users to position their tablet where they need it. In addition to this, we’ve developed several accessories to help maximize the tablet’s usage.
As tablets expand their capabilities users find themselves using a tablet in settings they never before thought possible. In addition to environments expanding so are applications. Some of these applications require the use of a keyboard. With this change, we’ve developed a keyboard mount that attaches to all of our MagConnect carbon fiber mounts. Need a keyboard wall mount? Keep reading! Our Pole Mount bracket can be positioned flat to allow the use of a keyboard.
We have two keyboard mount options. They are both universal in style because they can hold just about any tablet keyboard accessory. The MagConnect Universal Tablet Module paired with a Pole Mount is a great option. The module attaches to the back of a keyboard via an industrial-grade 3M VHB adhesive. This industrial grade adhesive is semi-permanent and can be removed but requires a solvent to do so.
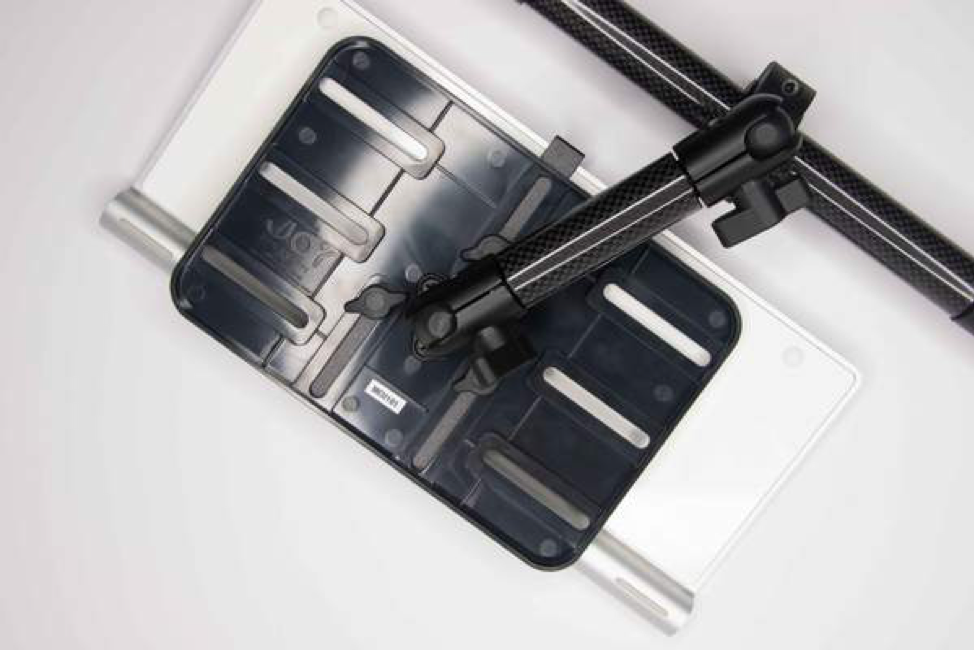
The other keyboard mount option is the Unite Pole Mount which can hold a keyboard between 5.125” – 7.625” in width and 7.5” – 12” in length. This mount has adjustable brackets that slide in and out of the tray to accommodate tablets and various other accessories like a keyboard.
After you’ve decided which mounting option to go with follow the below step by step instructions on how to set up a keyboard mount utilizing one of our MagConnect or Unite Mounts.
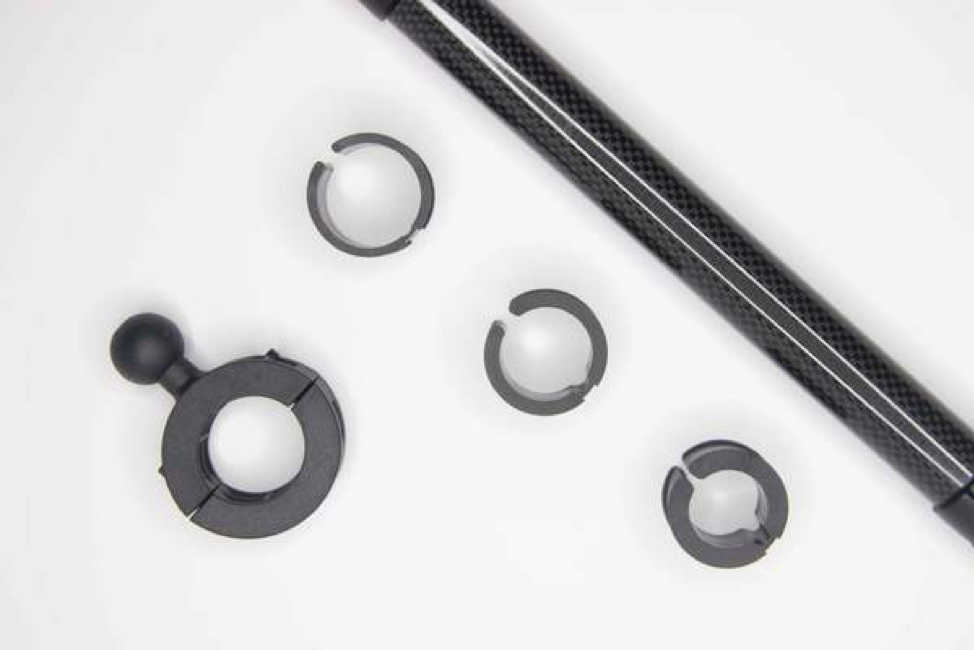
Step 1: Select the correct insert
Determine which insert best fits your mount arm diameter. Then slide the insert around the mount arm where you wish to mount your keyboard.
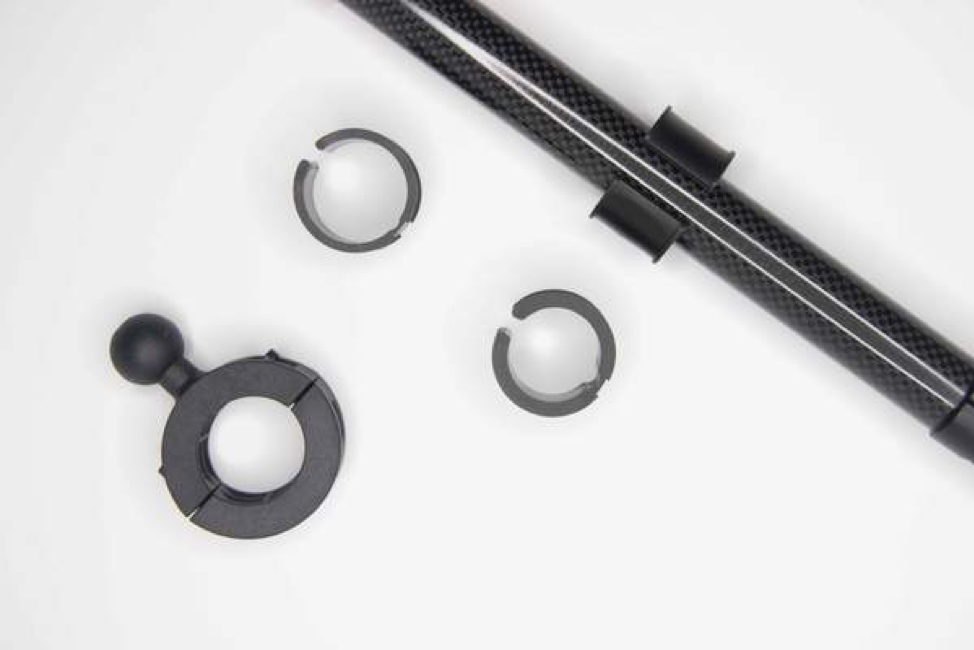
Step 2: Attach the pole mount bracket
Place the pole mount base top and bottom around the insert and tighten using the included screws and allen wrench. Tighten enough to prevent the base from sliding up and down the arm.
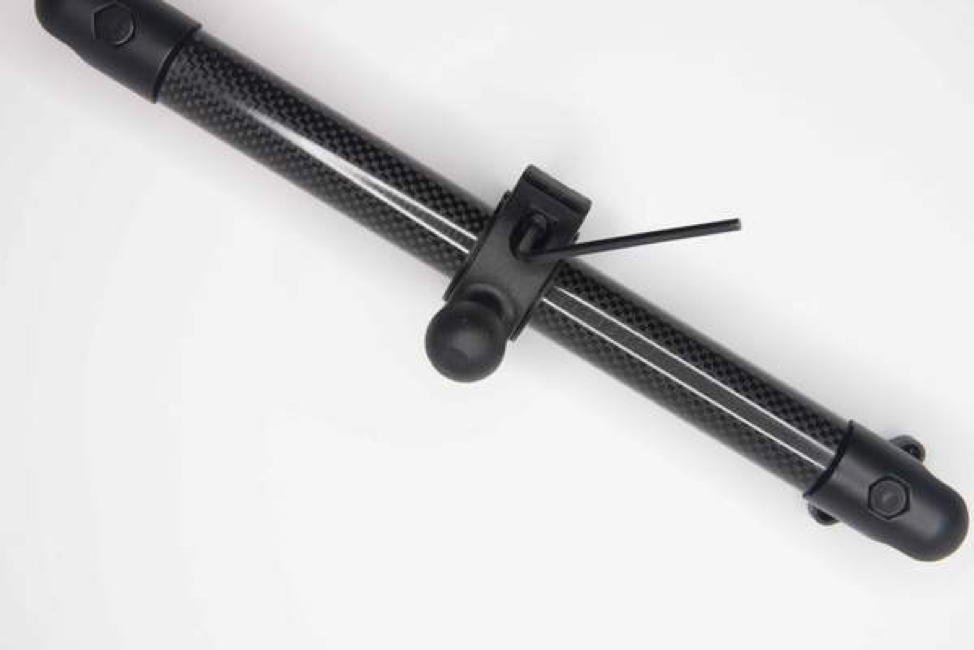
Step 3: Secure the pole mount arm to the base
Loosen the thumbscrew at the mount arm base connection enough to allow the ball joint to fit into the arm brackets. Once installed retighten thumbscrew.
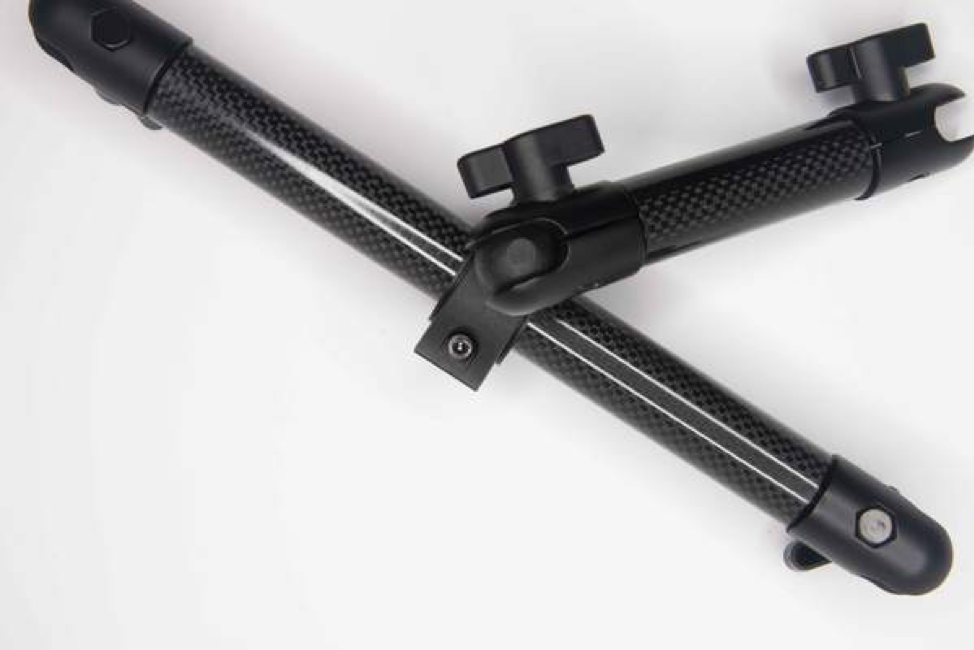 Step 4: Attach the keyboard to the MagConnect Universal Tablet Module or Unite Tray
MagConnect Universal Tablet Module – Clean the mounting surface of the keyboard and adhere to the 3M adhesive to the keyboard. To ensure proper adhesion press the module firmly against the keyboard then allow the adhesive to cure.
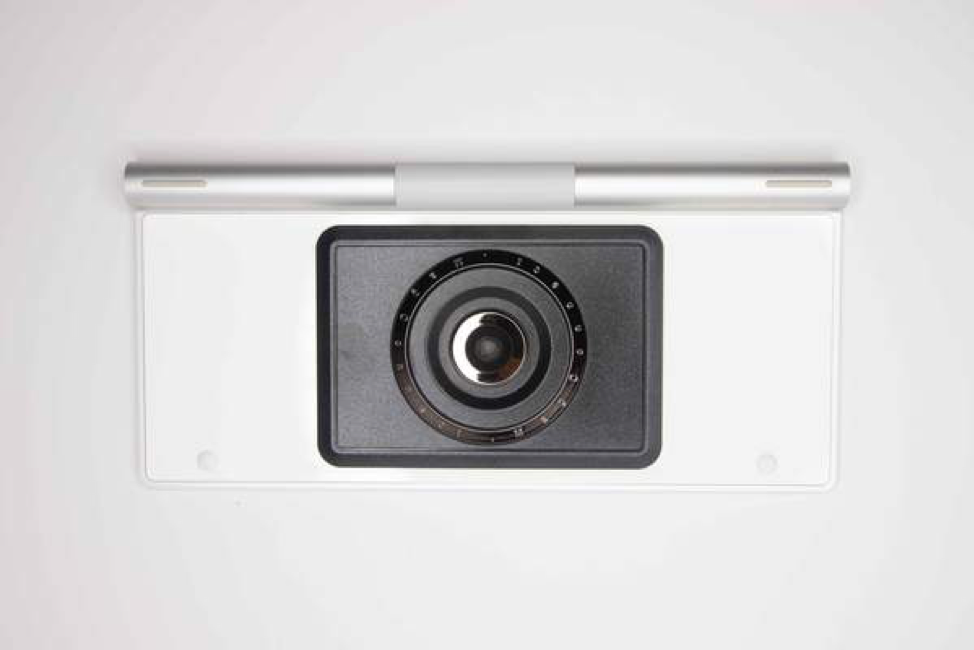
Unite – Loosen the thumbscrews to position brackets around keyboard edges then retighten.
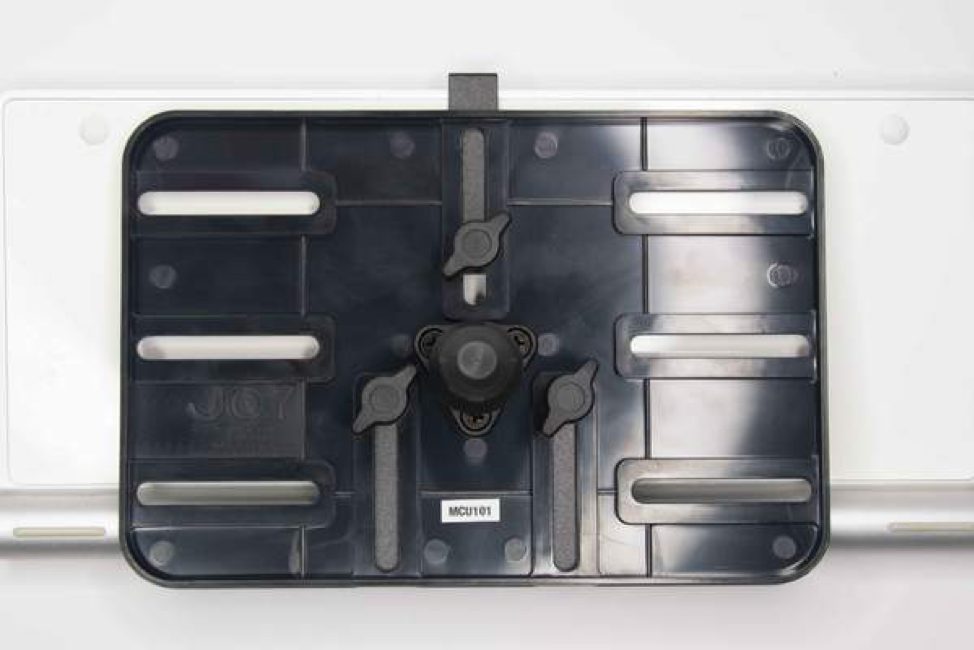
Step 5: Attach to mount
MagConnect – Attach to the keyboard to the mount via the MagConnect ball joint. It will attach magnetically, but the connection should be reinforced using the red precision screw on the mount.
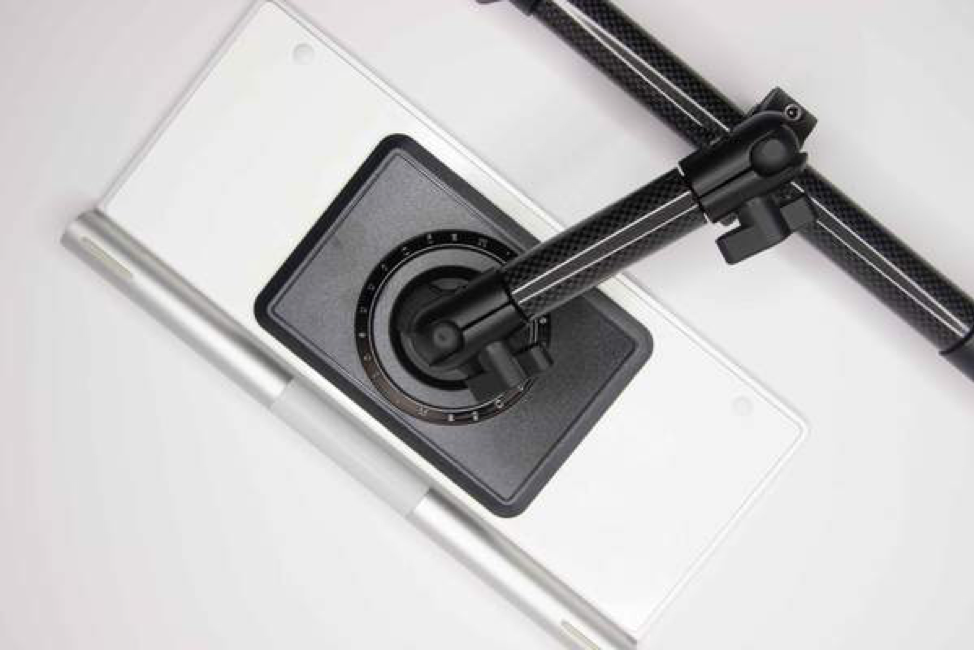
Unite – Loosen the remaining bracket and insert the Unite tray ball joint.
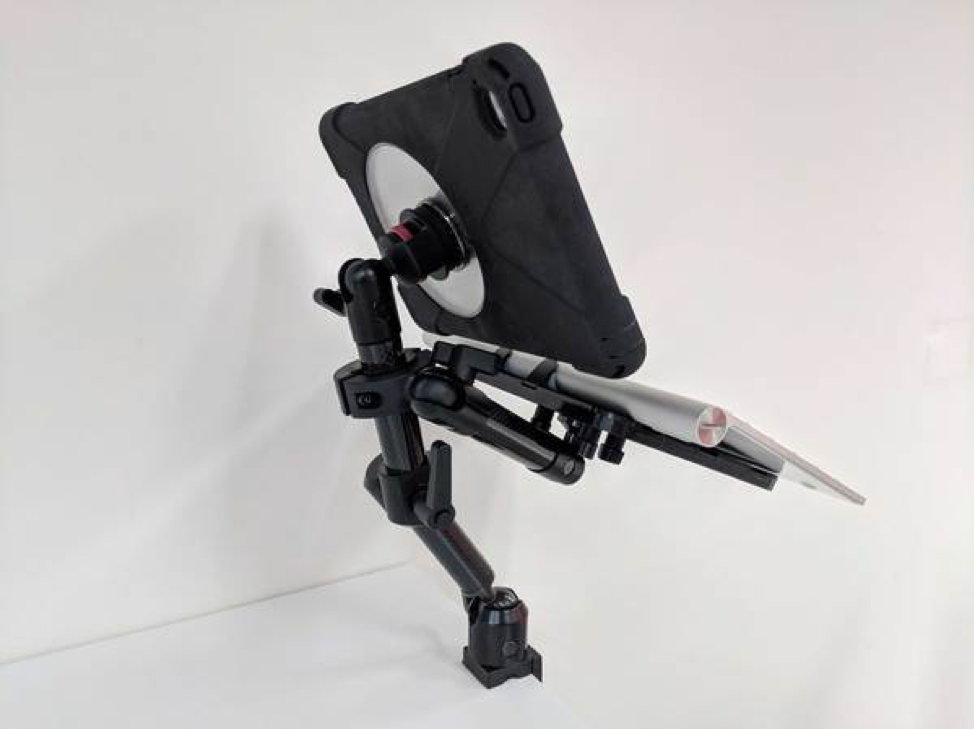
Step 6: Completed
Now your keyboard tablet mount accessory is ready for use!
Do you have questions about this setup or have something to share? Leave a comment for us below.
