DIY Hotel Self Service Kiosk Terminal
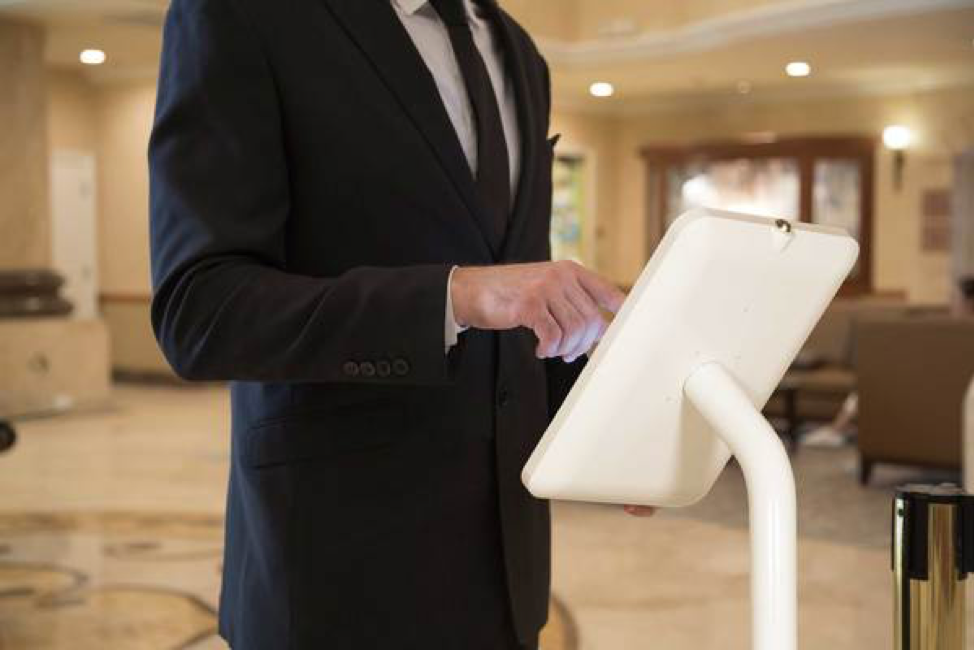
Expand what you provide your guests by giving them more than a clean and safe place to rest their heads. According to a survey by USamp and Smith Micro Software more than half of all hotel guests prefer to utilize a mobile device to make reservations. Why not expand their expectations by providing a self-service check-in terminal for your guests to check-in, select their room, upgrade amenities, request services and more. By utilizing a tablet, app, and kiosk you can quickly and easily set up a virtual check-in kiosk in the lobby of your hotel.
There are many benefits to using a tablet as a check-in kiosk:
- Provide visitors with an easy and professional way to self-check-in
- Reduce overhead on both the personnel and hardware side
- Increase customer satisfaction & loyalty
- Reduce wait times and long lines by streamlining the check-in process
- Increase revenue by up-selling services and amenities
Items Required:
- Tablet (to run the app)
- Tablet kiosk (to securely hold and protect your tablet)
8 steps to DIY a Virtual Hotel Check-In Kiosk
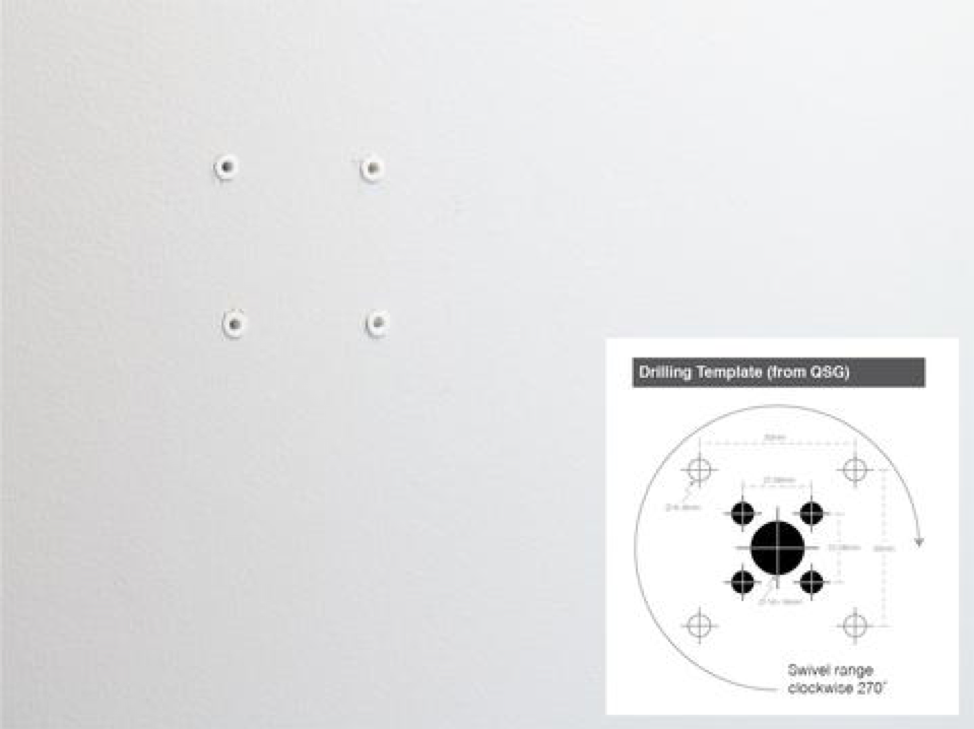
Drill mounting holes into the surface using the included drilling template from our quick start guide. If drilling directly into drywall with no studs, insert drywall anchors at this point.
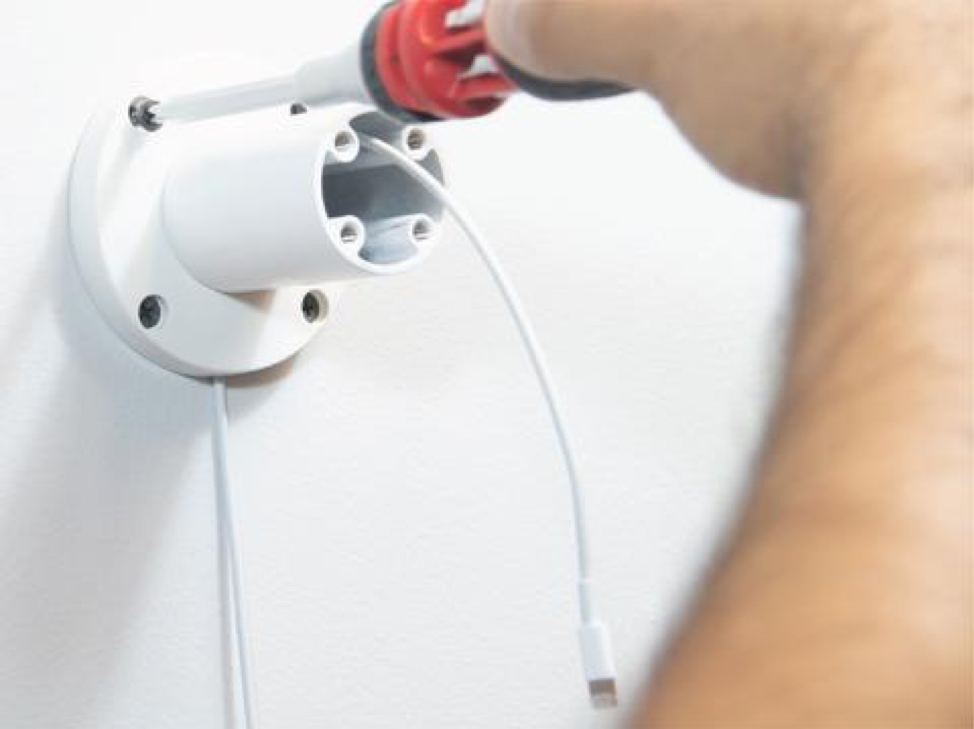
Using the predrilled holes, install the shroud and pole to the mounting surface with the power cables pre-installed.
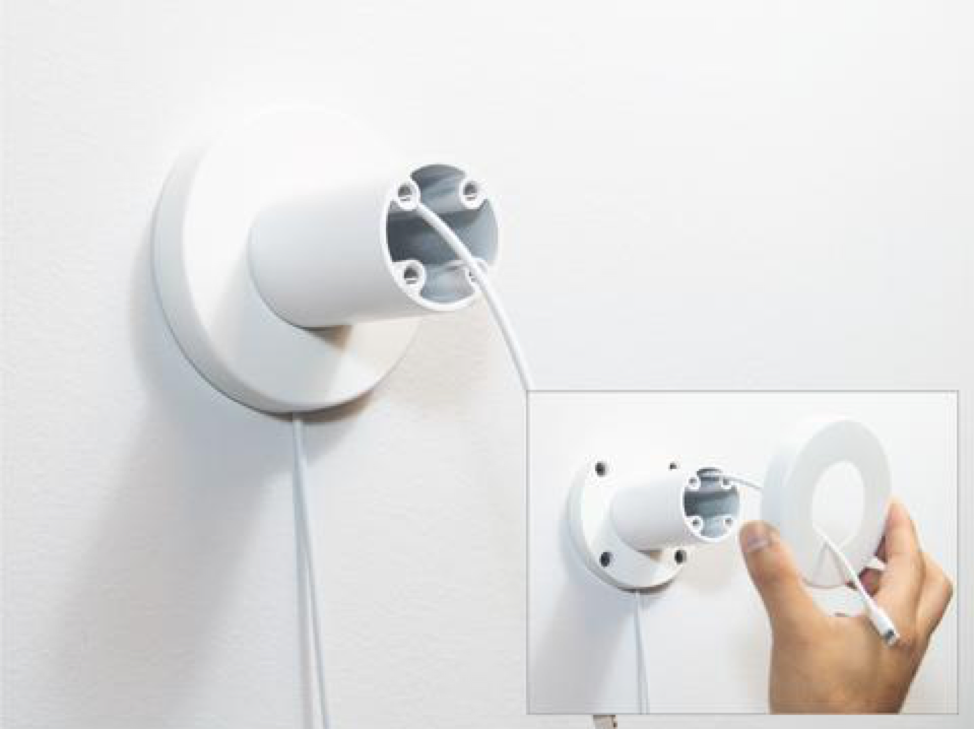
Install base shroud cover to conceal installation screws.
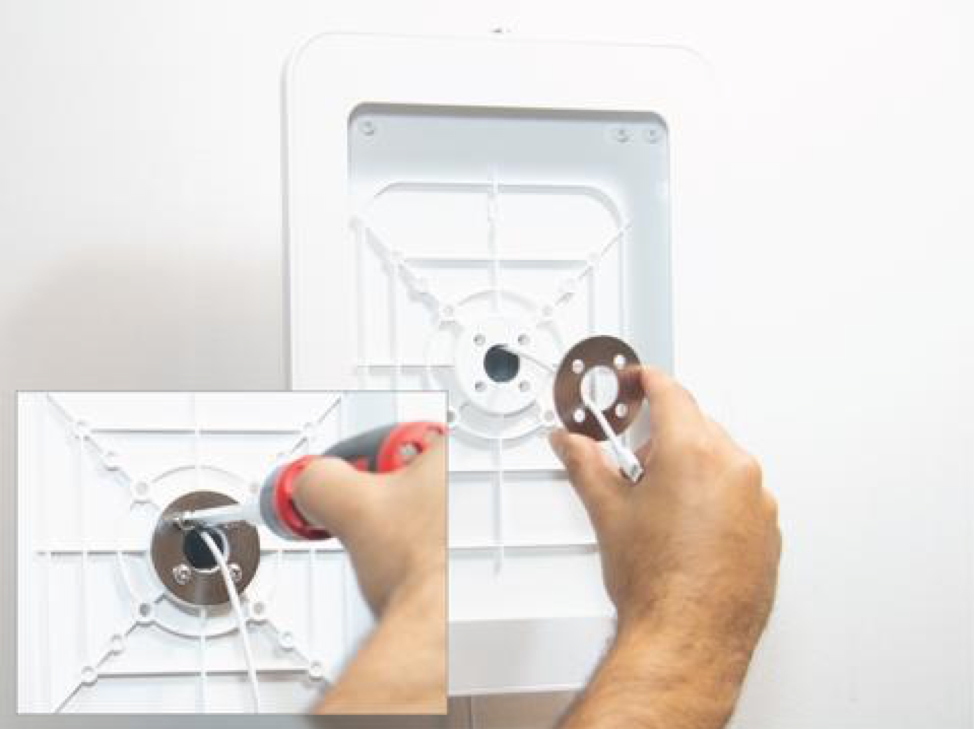
Secure the tablet enclosure to the pole after you decide which orientation you prefer to be it landscape or portrait. Ensure that the metal ring is in place first before inserting the included 4 screws.
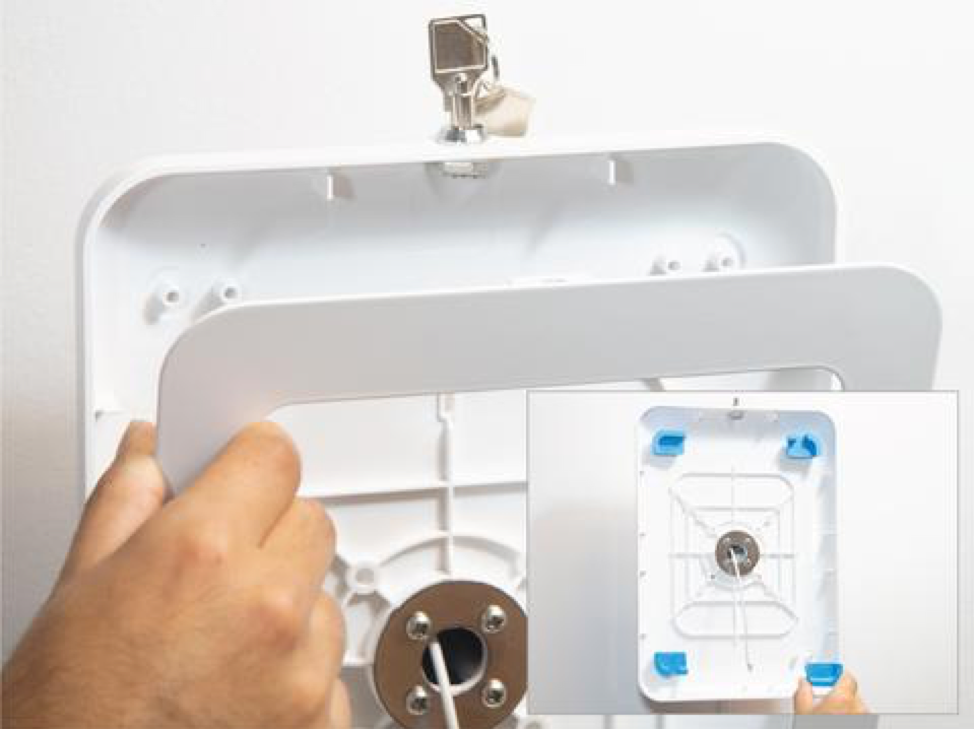
Unlock the tablet enclosure and remove the front metal faceplate. If your enclosure backing is plastic proceed with installing the 4 blue rubber pieces into all 4 corners (ensure the orientation is the same as our photo above). All metal enclosures don't require these rubber pieces.
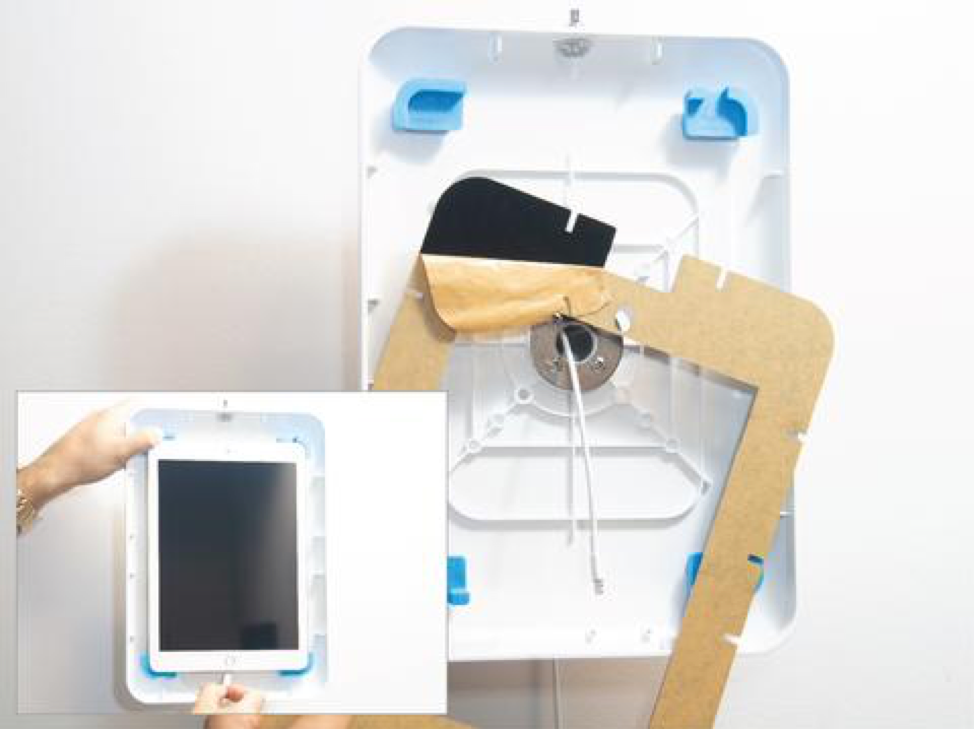
Peel away the brown protective sheet to exposure the glossy black acrylic facesheet, then place your device into the enclosure followed by the acrylic facesheet on top.

With both your tablet and facesheet in place, proceed with reinstalling the metal front plate. Once aligned, push-in the built-in key lock to secure everything in place. If you prefer to have a facesheet that enables your guests to navigate the tablet freely please call our sales team to learn about other options.
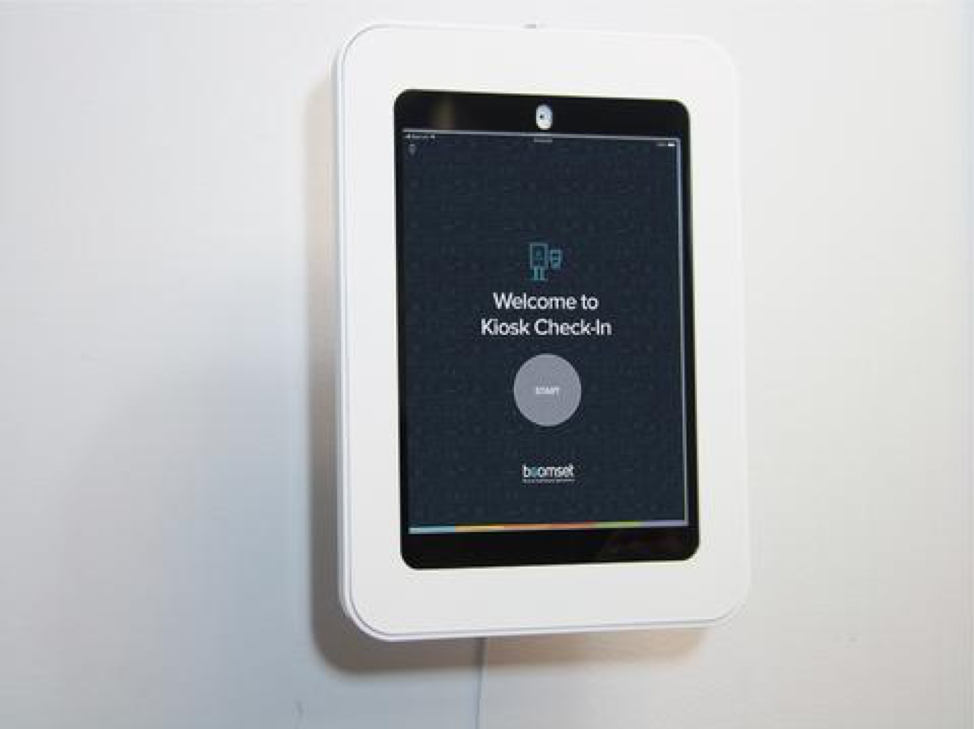
Set up your app of choice and you're all set!
Optional graphic panel
A graphic panel, sold separately, can be utilized to welcome, navigate, inform and attract guests. I would highly recommend picking up one of these and applying some fun graphics to it to help engage with your guests.
Kiosk Options for Hotels
We have a number of kiosk solutions to fit any area within a hotel. For a list of kiosk, options click the link below.

Hotel Self Service Kiosk Options
Hotel kiosk reservation software choices
We've compiled a list of applications that allow hotel guests to self-check-in. For technical support regarding the application click on the name below to navigate to the software company's website. For help installing this setup or one like it, you may contact our sales team by emailing them at sales@thejoyfactory.com or by giving us a call at (949) 216-8888.
Apps for Windows
Apps for iOS
Apps for Android
What do you think of this setup? If you would like to share your setup with our readers comment below!